
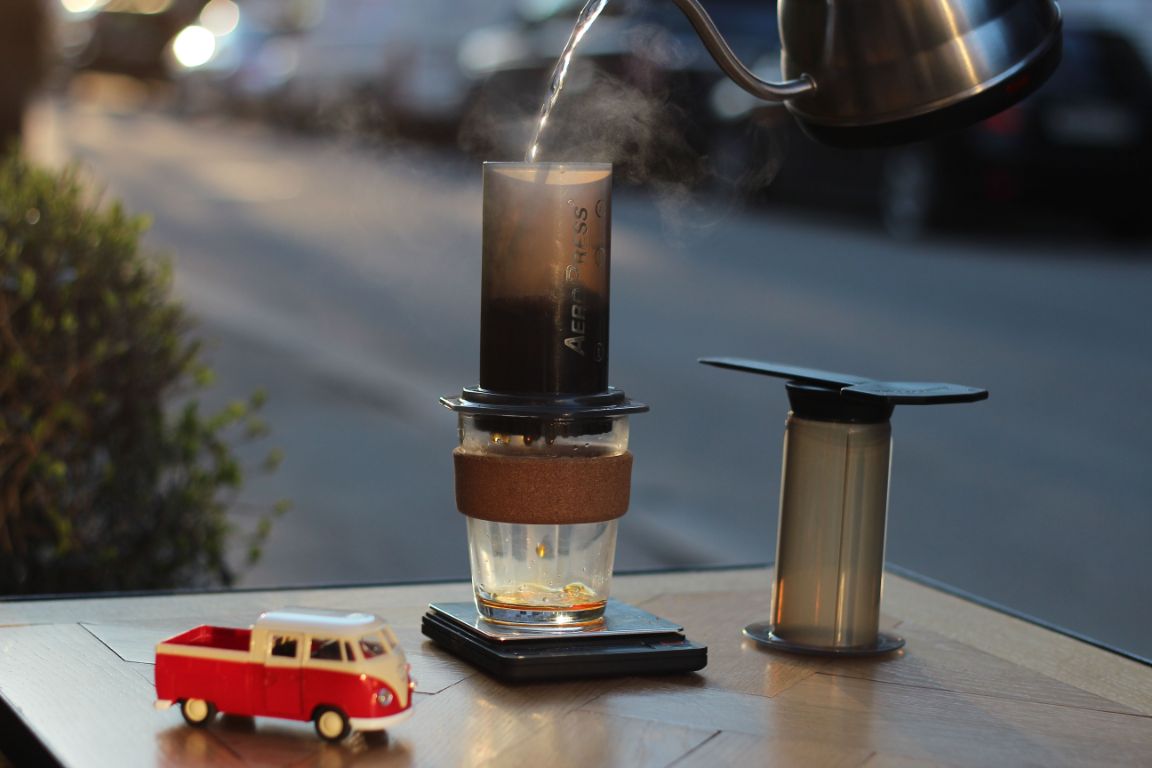
AeroPress coffee is easy to overthink.
You can find recipes with exact temperatures, inverted brewing, long steep times, short steep times, stirring patterns, metal filters, paper filters, and championship-style methods that feel more like a science project than a morning cup.
You do not need to start there.
The AeroPress is useful because it is forgiving. It is small, quick to clean, easy to pack, and flexible enough to make a strong short coffee or a smoother mug-style drink.
This guide starts with a simple method you can repeat, then shows how to adjust the cup once you know what you like.
What you need
For one cup of AeroPress coffee, you need:
- AeroPress brewer
- AeroPress paper filter
- Mug or sturdy server
- Ground coffee
- Hot water
- Stirrer or spoon
- Timer, if you have one
A scale is helpful but not required. If you are just starting, consistency matters more than perfect numbers. Use the same scoop, same water level, and same steep time for a few brews before changing anything.
The simple AeroPress recipe
Use this as a starting point:
| Item | Starting point |
|---|---|
| Coffee | 1 rounded AeroPress scoop, or about 14–17 grams |
| Grind size | Medium-fine |
| Water | Hot, but not aggressively boiling |
| Steep time | About 1 minute |
| Press time | 20–30 seconds |
| Final drink | Add hot water after pressing if you want a larger mug |
This recipe makes a strong, smooth cup that you can drink as-is or dilute slightly.
For grind size, aim for something finer than regular drip coffee but not as powdery as espresso. If you already read our Coffee Grind Size Chart, AeroPress sits around the medium-fine range for most beginner recipes.
Step 1: Add the filter and rinse it
Place a paper filter inside the AeroPress cap.
If you have hot water ready, rinse the filter briefly over your mug. This helps the filter sit flat and warms the mug at the same time.
You do not need to make this step ceremonial. A quick rinse is enough.
After rinsing, pour out the rinse water from the mug.
Step 2: Set the AeroPress on your mug
Twist the cap onto the chamber, then place the AeroPress directly on top of a sturdy mug.
Make sure the mug is stable. Pressing puts downward force on it, so avoid fragile cups or narrow glasses that might tip.
If you are new to AeroPress, use the standard upright method first. The inverted method can be useful later, but it is easier to spill if you are still learning.
Step 3: Add coffee
Add your ground coffee to the chamber.
Try not to scatter grounds around the rim. If a few stick to the side, that is fine.
A medium-fine grind is a good starting point. Too coarse, and the coffee may taste thin. Too fine, and pressing can become harder, with a cup that tastes too heavy or bitter.
If you are grinding fresh, keep the setting consistent for your first few tries. Changing grind size every cup makes it difficult to know what improved.
Step 4: Add hot water
Pour hot water into the chamber.
For a strong cup, fill to around the number 2 or 3 mark. For a lighter cup, use more water or dilute after pressing.
Pour steadily and make sure all the grounds get wet. If you see dry pockets of coffee on top, give the brewer a gentle swirl or stir.
Do not worry about making the pour look perfect. AeroPress is much more forgiving than a careful pour-over recipe.
Step 5: Stir and steep
Stir the coffee gently for a few seconds.
Then insert the plunger just slightly into the top of the chamber and pull back a tiny bit to create a light seal. This helps reduce drip-through while the coffee steeps.
Let it sit for about one minute.
A shorter steep can taste brighter and lighter. A longer steep can taste stronger and heavier. Start with one minute so you have a simple baseline.
Step 6: Press slowly
Press down with steady pressure.
The press should take around 20 to 30 seconds. If it drops immediately with almost no resistance, the grind may be too coarse. If it feels like you are fighting the brewer, the grind may be too fine or you may be pressing too hard.
Stop when you hear the hissing sound near the end, or just before it if you prefer a smoother cup.
You do not need to force every last drop through. Pressing aggressively at the end can make the cup taste harsher.
Step 7: Taste before changing the recipe
Taste the coffee before adding milk, sugar, or extra water.
Ask one simple question: what is wrong, if anything?
If it tastes good, do not change the recipe just because another method online looks more advanced.
If it tastes too strong, add hot water after pressing. This is one of the easiest ways to turn AeroPress coffee into a more familiar mug-style drink.
If it tastes thin or sharp, you can adjust the next brew.
How to adjust AeroPress coffee
If it tastes sour or thin
Try one of these:
- Grind slightly finer
- Steep a little longer
- Use a bit more coffee
- Stir a little more thoroughly
Do not change all four at once. Start with grind size or steep time.
If it tastes bitter or heavy
Try one of these:
- Grind slightly coarser
- Shorten the steep time
- Press more gently
- Stop pressing before the final hiss
- Use a little more hot water after brewing
AeroPress can make a clean cup, but it can also become muddy if the grind is too fine or the steep is too long for your taste.
If it tastes flat
The issue may not be the AeroPress.
Flat coffee can come from old beans, pre-ground coffee that has been open too long, or water that does not suit the coffee. Try fresher beans before blaming the brewer.
Standard method vs inverted method
The standard method is what most beginners should start with: cap on, filter in place, brewer sitting on the mug.
The inverted method flips the AeroPress upside down while the coffee steeps, then you attach the cap and flip it onto the mug before pressing.
The inverted method gives you more control over steeping because coffee does not drip through early. Some people prefer it for stronger recipes.
But it also adds a spill risk.
If you are making coffee before work or in a small kitchen, the standard method is usually simpler and safer. Learn that first. Try inverted brewing later when you already know what flavor you are chasing.
Paper filter or metal filter?
Most AeroPress users start with paper filters.
Paper filters make cleanup easy and usually produce a cleaner cup with less sediment.
Metal filters are reusable and can give the coffee more body. They may let more oils and fine particles through, which some people enjoy and others do not.
There is no correct choice for everyone. Use paper when you want clarity and easy cleanup. Try metal later if you want a heavier cup and less paper waste.
Can AeroPress make espresso?
Not exactly.
AeroPress can make a short, concentrated coffee that works well with milk or hot water, but it does not brew like a true espresso machine. Espresso uses much higher pressure and a different extraction process.
That said, AeroPress can still make a strong base for:
- Iced coffee
- Small milk drinks
- Travel coffee
- Quick morning coffee
- Americanos-style cups
If you want real espresso texture and crema, you need an espresso machine. If you want a compact brewer that makes strong coffee almost anywhere, AeroPress is excellent.
Cleanup is one of the best parts
AeroPress cleanup is quick.
After pressing, remove the cap, hold the brewer over the trash or compost, and push the coffee puck out with the plunger. Rinse the rubber seal, cap, and chamber.
That is usually enough for daily use.
Do not leave old grounds sitting inside the brewer for hours. They dry onto the rubber seal and make cleanup more annoying later.
A simple AeroPress routine for busy mornings
Here is the full beginner routine:
- Rinse the paper filter.
- Add medium-fine coffee.
- Pour in hot water.
- Stir gently.
- Steep for about one minute.
- Press slowly for 20–30 seconds.
- Add hot water if you want a larger cup.
- Push out the puck and rinse the brewer.
Once you can repeat that comfortably, experiment with grind size, steep time, coffee amount, or filters.
One change at a time.
Frequently asked questions
What grind size is best for AeroPress?
Medium-fine is a good starting point. It should be finer than standard drip coffee but not as fine as espresso. Adjust slightly based on taste.
How long should AeroPress steep?
Start with about one minute. Use a shorter steep for a lighter cup and a longer steep for a stronger, heavier cup.
Should I use the inverted AeroPress method?
Not at first. The standard method is simpler and less messy. Try the inverted method later if you want more control over steeping.
Can I make a full mug with AeroPress?
Yes. Brew a stronger short coffee, then add hot water after pressing until it tastes right to you.
Why is my AeroPress hard to press?
The grind may be too fine, the filter may be clogged, or you may be pressing too fast. Try a slightly coarser grind and press slowly.
The takeaway
AeroPress coffee does not need to be complicated.
Start with a medium-fine grind, hot water, a short stir, a one-minute steep, and a slow press. Taste the cup, then adjust one thing at a time.
The best AeroPress method is not the most impressive one. It is the one you can repeat on a normal morning.