A first espresso setup can become expensive very quickly.
That usually happens because people buy everything at once: a machine, grinder, scale, tamper, distribution tool, dosing funnel, knock box, special cups, milk thermometer, bottomless portafilter, and every accessory recommended in a video.
You do not need all of that.
A good beginner setup is not the one with the most equipment. It is the one that lets you make a repeatable drink without turning your kitchen counter into a repair bench.
The essential espresso setup
For most beginners, the core setup is:
| What you need | Why it matters |
|---|---|
| Espresso machine | Produces the shot |
| Coffee | Fresh whole beans or suitable pre-ground espresso coffee |
| Grinder or pre-ground coffee | Controls grind size and workflow |
| Portafilter and basket | Holds the coffee during brewing |
| Tamper | Creates an even coffee bed |
| Small scale | Helps repeat your dose and shot output |
| Cup or glass | Lets you see and taste the result |
| Cloth for cleanup | Keeps the steam wand and machine clean |
A basic espresso recipe often starts around 18 grams of coffee producing roughly 36 grams of espresso, but your own basket and machine instructions should guide the exact starting point.
Choose your machine around your routine
Your machine should match the drinks you actually want to make.
A simple machine may be enough when:
- You mostly drink espresso or Americanos.
- You only make one or two drinks at a time.
- You are happy with pre-ground coffee at first.
- You have limited counter space.
- You want to learn slowly.
A machine with a steam wand matters when:
- You make lattes, cappuccinos, or flat whites.
- You enjoy practicing milk texture.
- You want more control over your drinks.
- You do not mind cleaning the wand after every use.
A bean-to-cup machine may make sense when:
- You want espresso-style drinks with minimal hands-on work.
- You want one-button convenience.
- You do not want to measure, tamp, or dial in manually every morning.
The right choice is not about looking like a barista. It is about whether the routine fits your real mornings.
Decide early: whole beans or pre-ground coffee?
You can begin with either.
Start with pre-ground coffee when:
- You are still learning your machine.
- You have a pressurized basket.
- You want lower upfront cost.
- You make mostly milk drinks.
- You do not have room for a grinder yet.
Start with whole beans when:
- You want more aroma and control.
- You enjoy adjusting your coffee.
- You plan to use a non-pressurized basket.
- You drink espresso often.
- You want to switch between different beans.
Freshly grinding coffee gives you more control over espresso, but it also adds one more step to your routine. Choose the setup you are likely to keep using, not the one that sounds most impressive.
A scale is more useful than it looks
A small digital scale is one of the best low-cost tools for beginners.
Without one, it is easy to change your dose without noticing. Then you may think the grind is wrong when the real issue was simply using more or less coffee than yesterday.
A scale helps you repeat:
- How much coffee goes into the basket.
- How much espresso comes out.
- How long the shot takes.
- Which combination tasted best.
You do not need to weigh everything forever. But while learning, it makes the process much clearer.
Your tamper should fit the basket
You do not need an expensive tamper on day one.
You do need one that fits your basket reasonably well and lets you tamp level.
A tamper that is too small can leave loose coffee around the edge of the basket. One that is too large may not fit properly. Check your machine’s basket diameter before buying an upgrade.
The main goal is consistency: level coffee, a level tamp, and no loose grounds on the basket rim.
Milk tools only matter if you drink milk drinks
For espresso-only drinkers, a milk pitcher can wait.
For latte and cappuccino drinkers, start with:
- A small stainless-steel milk pitcher.
- A clean damp cloth for the steam wand.
- Cold milk.
- Enough time to practice without rushing.
You do not need latte art tools immediately.
Smooth milk texture matters more than decorative patterns. Learn how to create small, glossy bubbles first. The heart shape can come later.
Cleaning tools are not optional
The least exciting part of espresso is also one of the most important.
At minimum, keep:
- A clean cloth for the steam wand.
- A brush for loose grounds.
- A container or bin for used coffee pucks.
- Machine-approved cleaning products when your manual recommends them.
You do not need a large dedicated coffee station. You just need a routine that makes cleanup easy enough to do every time.
After using the machine:
- Knock out the puck.
- Rinse the basket.
- Flush the group head briefly.
- Wipe and purge the steam wand.
- Empty the drip tray when needed.
What can wait until later
These tools can be useful, but they are not required for a first setup:
- Bottomless portafilter
- Distribution tool
- WDT tool
- Dosing funnel
- Precision basket
- Calibrated tamper
- Knock box
- Milk thermometer
- Espresso shot mirror
- Special espresso cups
- Advanced water filters
Add accessories when you understand the problem they solve.
For example, buy a dosing funnel when you are tired of grounds spilling. Buy a better basket when your current basket limits your workflow. Buy a bottomless portafilter when you want to diagnose uneven extraction.
A simple beginner setup path
Path 1: Lowest complexity
- Entry-level espresso machine
- Pressurized basket
- Pre-ground espresso coffee
- Included tamper
- Small scale
- Basic cup and cloth
This is enough to learn the machine and decide whether you enjoy home espresso.
Path 2: Better control
- Semi-automatic espresso machine
- Espresso-capable grinder
- Whole beans
- Scale
- Proper-fitting tamper
- Milk pitcher if needed
- Basic cleaning tools
This is the most practical path for someone who wants to improve over time.
Path 3: Convenience first
- Bean-to-cup machine
- Whole beans
- Cleaning supplies
- Milk container or pitcher, depending on machine
This path gives up some hands-on control in exchange for an easier daily routine.
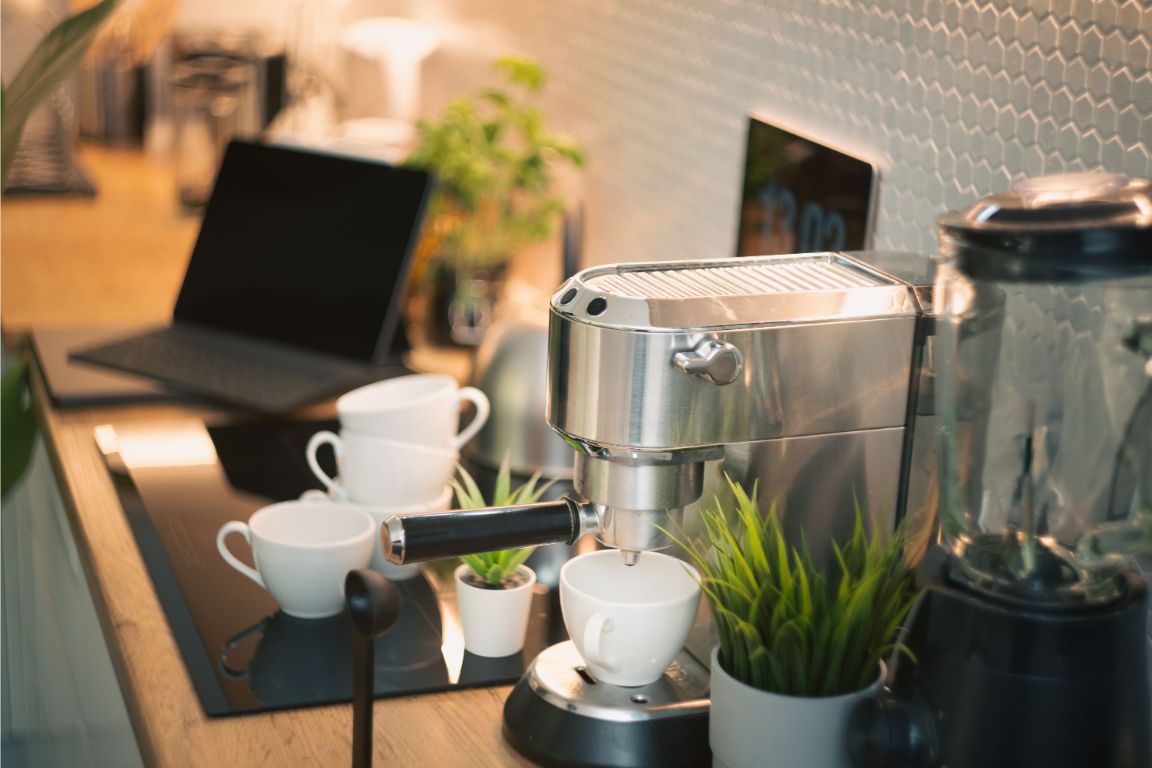
Think about counter space before buying
Espresso equipment often needs more room than expected.
Measure:
- Machine width and depth.
- Grinder footprint.
- Cabinet clearance above the machine or grinder.
- Space to remove a water tank.
- Space for a scale, cup, and milk pitcher.
- Access to an outlet and sink.
A smaller setup that stays on the counter is often more useful than a larger one you have to store after every use.
Frequently asked questions
Do I need a grinder for my first espresso setup?
Not immediately. Pre-ground espresso coffee can work well with a pressurized basket. A grinder becomes more useful when you want fresher coffee and more control.
Do I need a scale for espresso?
A scale is not mandatory, but it makes learning much easier. It helps keep your dose and output consistent.
Do I need expensive accessories?
No. Start with the machine, coffee, a tamper, a scale, and basic cleaning tools. Add extras only when they solve a problem you actually have.
What is the best first upgrade?
For many people, an espresso-capable grinder is the most useful upgrade after the basic setup is working.
The takeaway
Your first espresso setup should be simple enough to use every day.
Start with the machine, coffee, a way to tamp, a scale, and a cleaning routine. Learn how those basics work together before filling your kitchen with accessories.