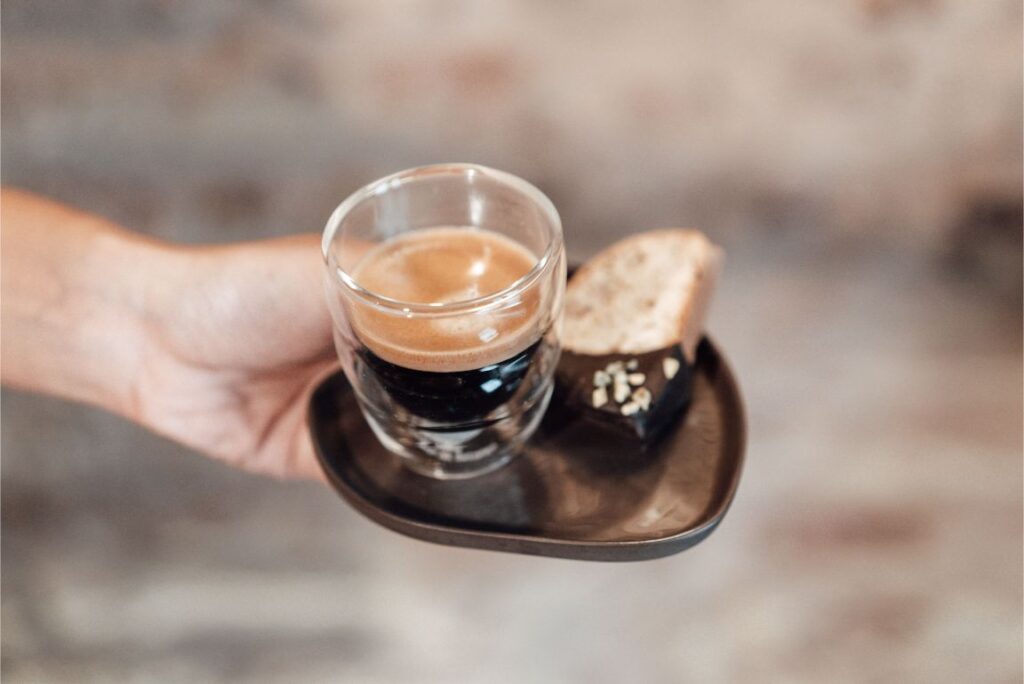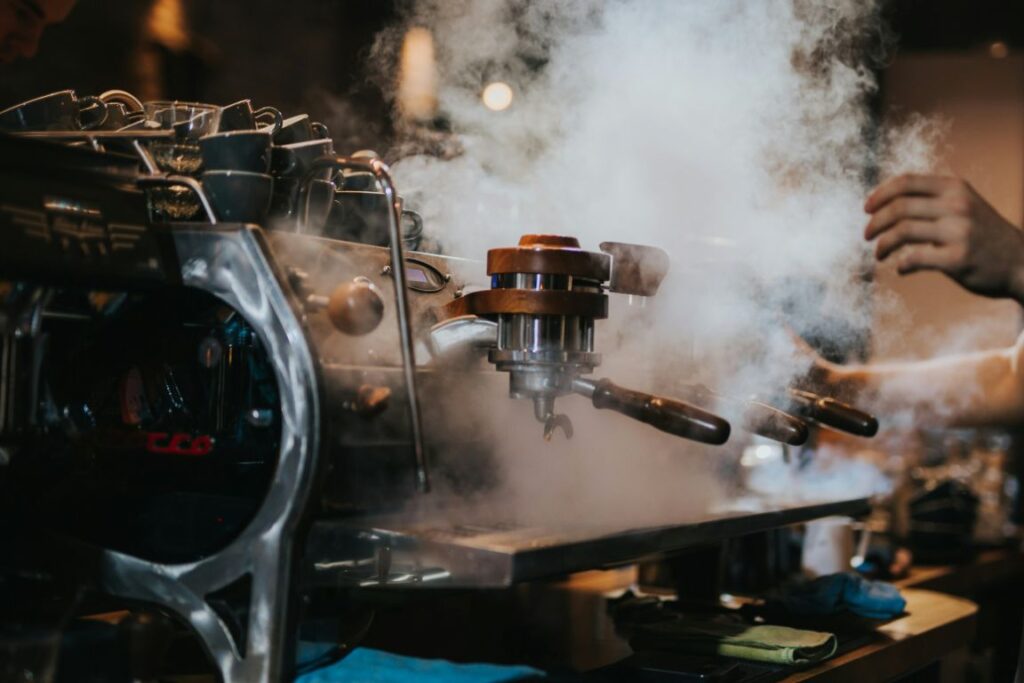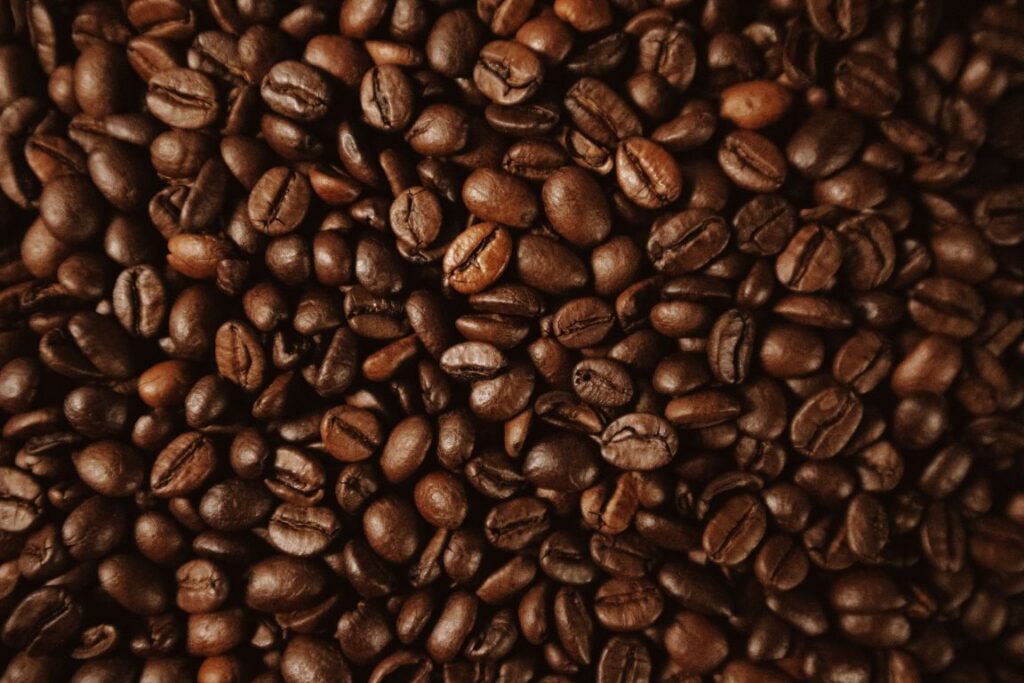
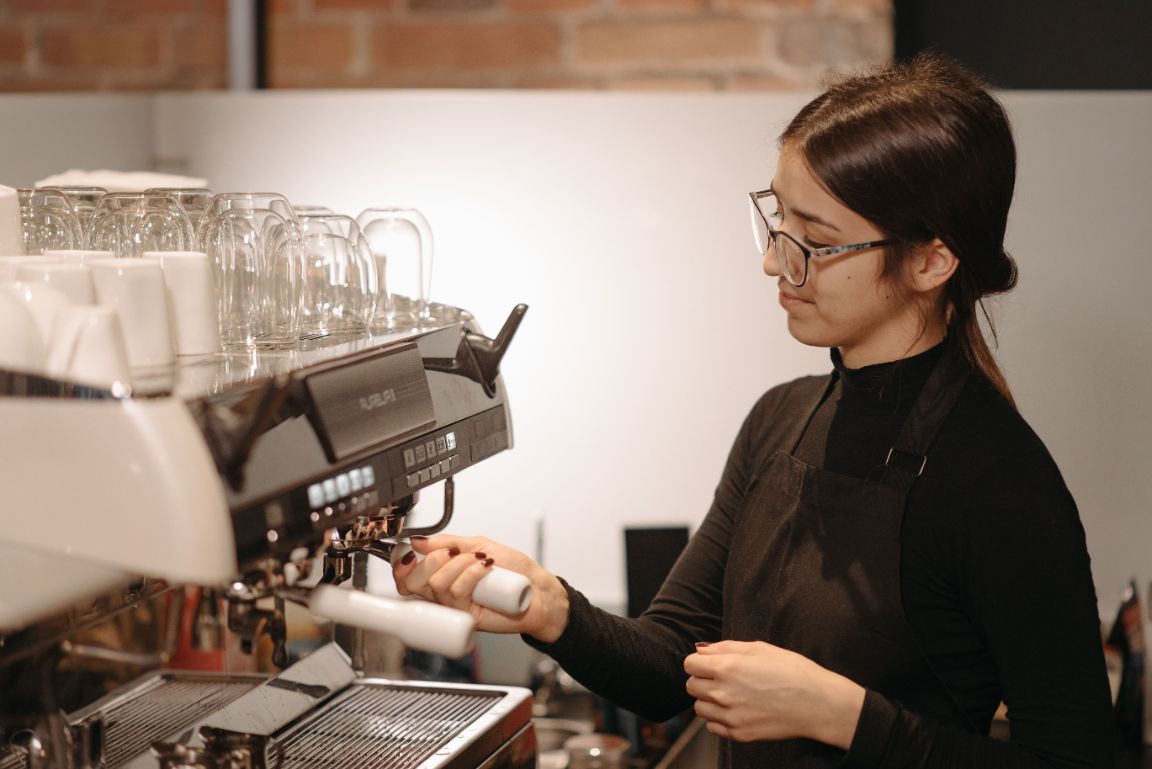
The first few times you use an espresso machine, it can feel like there are too many things happening at once.
You are thinking about the grinder, the basket, the tamper, the buttons, the pressure gauge, the milk wand, and whether the shot is supposed to run that quickly. It is easy to assume that good espresso requires a complicated ritual.
It does not.
A reliable home espresso routine comes down to a few repeatable steps: warm the machine, use a consistent amount of coffee, distribute and tamp it evenly, watch how the shot flows, then clean up before old coffee and milk dry onto the machine.
You will improve with practice. The goal for now is not café perfection. It is learning how your machine behaves and making a cup you enjoy more than the one you made yesterday.
What you need before you start
For a basic espresso routine, you need:
- An espresso machine
- Fresh coffee beans or espresso-ground coffee
- A grinder, if using whole beans
- A portafilter and basket
- A tamper that fits the basket
- A small scale, if possible
- A cup that fits beneath the portafilter
- A clean cloth for the steam wand and cleanup
A scale is not essential on day one, but it removes a lot of guesswork. Espresso responds to small changes, so using the same dose each time makes it easier to understand what improved or went wrong.
Learn your machine before changing everything
Every espresso machine has its own warm-up time, basket size, buttons, temperature behavior, and cleaning instructions.
Before pulling your first proper shot, read the quick-start section of your machine’s manual. Pay particular attention to:
- How long the machine needs to heat up
- Whether it has single-wall or pressurized baskets
- The recommended coffee dose for your basket
- How to flush the group head
- How to use and clean the steam wand
- When the machine needs descaling or other maintenance
Do not worry if your first few shots are not great. You are learning both espresso and your specific machine at the same time.
Step 1: Warm up the machine and cup
Turn on the machine and give it enough time to heat properly.
Some compact machines may be ready quickly, while others benefit from a longer warm-up. The portafilter should also be warm, not cold. A cold metal basket can pull heat from the brewing water and make the first shot less consistent.
While the machine heats:
- Put your cup on the cup warmer if your machine has one.
- Lock the empty portafilter into the group head.
- Fill your water tank if needed.
- Set out your scale, tamper, and milk pitcher.
Just before brewing, run a short blank shot through the group head. This warms the brewing path and clears away any old coffee residue. Breville also recommends rinsing or flushing the group head as part of regular espresso cleanup.
Step 2: Grind or measure your coffee
For espresso, consistency matters more than using a specific number someone else gave you online.
Start with the basket recommendation in your machine manual. Many double baskets are designed around roughly 18 grams of coffee, but capacities vary, so your basket should guide the first dose. The Specialty Coffee Association notes that a typical modern double espresso often starts around an 18–20 gram dose and uses roughly a 1:2 brew ratio as a reference point.
If you are using whole beans:
- Grind only what you need for the shot.
- Use an espresso-capable setting.
- Keep the grind fine, but do not assume “finer” is always better.
If you are using pre-ground coffee:
- Make sure it is labeled for espresso.
- Keep it sealed tightly.
- Expect less adjustment control than you would get from fresh grinding.
For more on that decision, link later to Do You Need a Grinder for Espresso?
Step 3: Distribute the grounds evenly
After filling the basket, gently tap the side of the portafilter or level the coffee with your finger.
You are not trying to pack it down yet. You are simply helping the grounds sit evenly before tamping.
Uneven coffee can encourage water to find an easier path through one area of the puck. That often leads to a fast, uneven extraction.
Keep this simple:
- Break up obvious clumps.
- Make the surface roughly level.
- Do not leave one side noticeably higher than the other.
- Avoid knocking the portafilter hard against the counter.
Step 4: Tamp level, not aggressively
Place the portafilter on a stable surface or tamping mat.
Hold the tamper flat and press straight down. The most important thing is keeping it level. A crooked tamp can create uneven resistance and make the shot flow badly.
You do not need to use dramatic force. Tamp firmly enough to create a compact, even coffee bed, then stop. Breville’s guidance also emphasizes keeping the tamper level and perpendicular to the portafilter rather than focusing only on pressure.
After tamping:
- Brush loose grounds from the rim of the basket.
- Check that the puck looks level.
- Lock the portafilter into the group head without delay.
Do not leave tamped coffee sitting around for several minutes before brewing. It is better to move from tamping to extraction smoothly.
Step 5: Pull the shot
Place your cup or scale beneath the portafilter and start the shot.
At first, watch three things:
- How long it takes before coffee begins flowing
- Whether the stream looks steady
- How the espresso tastes
For a typical double shot, a useful starting reference is around a 1:2 ratio: for example, 18 grams of dry coffee producing about 36 grams of espresso. Many espresso routines land somewhere around 25–30 seconds, but this is a starting point, not a rule you must force every machine to follow.
A good beginner habit is to change only one thing at a time.
If the shot runs too fast
Your espresso may taste thin, sour, or watery.
Try:
- Grinding slightly finer
- Checking that the dose is correct
- Making sure the tamp is level
- Looking for uneven distribution before tamping
If the shot runs too slowly
Your espresso may taste bitter, dry, or overly intense.
Try:
- Grinding slightly coarser
- Checking that you have not overfilled the basket
- Making sure you are not using too much coffee
- Confirming that the basket and portafilter are clean
Do not change the grind, dose, temperature, and tamp all at once. You will not know which adjustment helped.
Step 6: Taste before adding milk
Take a small sip of the espresso before turning it into a latte or cappuccino.
You are looking for a useful direction, not a tasting score.
Ask yourself:
- Does it taste too sharp or sour?
- Does it taste bitter or dry?
- Does it feel thin?
- Is it balanced enough for the drink I want to make?
A shot that tastes slightly intense on its own may still work beautifully with milk. A shot that tastes sour or extremely bitter usually needs an adjustment.
Keep a simple note in your phone while learning:
Coffee:
Dose:
Grind setting:
Shot time:
Result:
That is enough to help you spot patterns.
Step 7: Steam milk only after the shot is ready
For milk drinks, pull the espresso first, then steam the milk.
Start with cold milk in a cold pitcher. Fill the pitcher only to about one-third full, giving the milk room to expand.
Before steaming, purge the wand briefly into the drip tray or a cloth. Then place the wand tip just below the milk’s surface, slightly off-center in the pitcher.
The goal is to introduce a little air at first, then create a smooth whirlpool motion as the milk heats. Breville’s steaming guidance similarly recommends positioning the tip just below the surface and angling the pitcher to help create movement.
For your first few tries, focus on texture rather than latte art:
- Latte: silky milk with very small bubbles
- Cappuccino: more foam and a lighter texture
- Flat white: thinner, glossy microfoam
Do not overthink it. Good milk texture takes practice, and even experienced espresso drinkers improve by repeating the same routine.
Step 8: Clean the machine immediately
The best espresso habit is cleaning as you go.
After the shot:
- Remove the portafilter.
- Knock out the coffee puck.
- Rinse the basket and wipe it dry.
- Run a short flush through the group head.
- Wipe the steam wand with a damp cloth.
- Purge the steam wand briefly again.
Milk residue is much easier to remove before it dries. De’Longhi also recommends wiping the steam wand after use and releasing a short burst of steam to clear milk from the nozzle.
This takes less than a minute and keeps tomorrow’s coffee from passing through old coffee oils or dried milk.
The most common beginner mistakes
Changing too many things at once
This is the biggest one.
When a shot tastes wrong, beginners often adjust the grind, use more coffee, tamp harder, and change the shot time all in one attempt.
Pick one variable. Usually, start with grind size.
Treating crema as the whole answer
Crema can look beautiful, but it does not tell you everything about taste.
A shot can have thick crema and still taste harsh. Another can have modest crema and taste balanced. Use the cup, not just the appearance, as your main guide.
Using stale or unsuitable coffee
Espresso is less forgiving than many brew methods.
Very old coffee, coffee ground long ago, or beans that do not suit your taste can make dialing in harder. This does not mean you need expensive beans. It means fresher coffee gives you a clearer chance to learn what your machine can do.
Forgetting the steam wand
A steam wand can become difficult to clean quickly.
Wipe and purge it straight after steaming, while the milk is still fresh. Do not wait until the next morning.
Expecting the first shot to be perfect
It will probably not be.
That is normal. Espresso is a small drink with a lot of variables. The win is building a routine where each shot teaches you something useful.
A simple beginner espresso routine
Once you feel comfortable, your morning process can look like this:
- Heat the machine and warm the portafilter.
- Flush the group head briefly.
- Measure and grind coffee.
- Distribute and tamp level.
- Pull the shot.
- Taste or steam milk.
- Clean the portafilter, group head, and steam wand.
That is it.
The process becomes much less intimidating once the order is familiar.
Frequently asked questions
How much coffee should I use for a double espresso?
Start with the recommendation for your basket. Many double baskets use around 18 grams, but basket size varies. Using a scale is the simplest way to stay consistent.
How long should an espresso shot take?
A common starting range is around 25–30 seconds for a double shot, but treat this as a reference rather than a strict target. Taste, dose, yield, and your machine’s behavior matter too.
Why is my espresso sour?
A sour shot is often under-extracted. Try a slightly finer grind first, while keeping your dose and other settings consistent.
Why is my espresso bitter?
A bitter or dry shot may be over-extracted. Try a slightly coarser grind, then taste again.
Do I need a grinder for espresso?
You can use pre-ground espresso coffee, but a grinder gives you much more control. Espresso is sensitive to small changes, so an espresso-capable grinder makes it easier to repeat a good shot.
The takeaway
Using an espresso machine is not about mastering everything in one weekend.
Start with a consistent dose, a level tamp, a sensible shot target, and clean equipment. Taste the result, change one thing, and try again.
Once the workflow becomes familiar, espresso stops feeling complicated. It becomes one of the most rewarding ways to make coffee at home.